Models, modules, and apps
Models determine the logical structure of a database and how data is stored, organized, and manipulated. In other words, a model is a table of information that can be linked with other tables. A model usually represents a business concept, such as a sales order, contact, or product.
Modules and apps contain various elements, such as models, views, data files, web controllers, and static web data.
Note
All apps are modules. Larger, standalone modules are typically referred to as apps, whereas other modules usually serve as add-ons to said apps.
Suggested features
When you create a new model or app with Studio, you can choose to add up to 14 features to speed up the creation process. These features bundle fields, default settings, and views that are usually used together to provide some standard functionality. Most of these features can be added later on, but adding them from the start makes the model creation process much easier. Furthermore, these features interact together in some cases to increase their usefulness.
Example
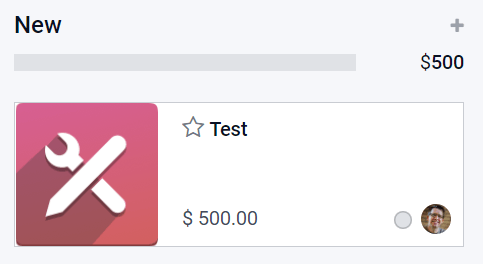
Creating a model with the Picture and Pipeline stages features enabled adds the image in the card layout of the Kanban view.
Contact details
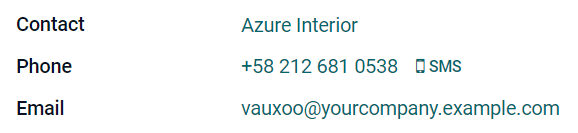
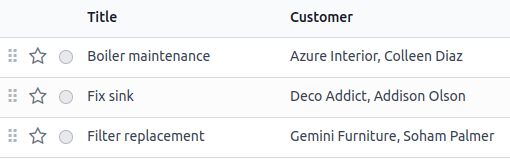
Selecting Contact details adds to the Form view a Many2One field linked to the Contact model and two of its Related Fields: Phone and Email. The Contact field is also added to the List view, and the Map view is activated.
Example
User assignment
Selecting User assignment adds to the Form view a
Many2One field linked to the Contact model, with
the following Domain: Share User is not set to only allow the selection of Internal
Users. In addition, the many2one_avatar_user widget is used to display the user’s
avatar. The Responsible field is also added to the List view.
Example

Date & Calendar
Selecting Date & Calendar adds to the Form view a Date field and activates the Calendar view.
Date range & Gantt
Selecting Date range & Gantt adds to the Form view two Date fields next to each other: one to set a start date, the other to set an end date, using the daterange widget, and activates the Gantt view.
Pipeline stages
Selecting Pipeline stages activates the Kanban view, adds several fields such as Priority and Kanban State, and three stages: New, In Progress, and Done. The Pipeline status bar and the Kanban State field are added to the Form view. The Color field is added to the List view.
Note
The Pipeline stages feature can be added at a later stage.
Picture
Selecting Picture adds to the top-right of the Form view an Image field.
Note
The Picture feature can be added at a later stage.
Lines
Selecting Lines: adds to the Form view a Lines field inside a Tab component.
Notes
Selecting Notes adds to the Form view an Html field using the full width of the form.
Monetary value
Selecting Monetary value adds to the Form and List views a Monetary field. The Graph and Pivot views are also activated.
Note
A Currency field is added and hidden from the view.
Company
Selecting Company adds to the Form and List views a Many2One field linked to the Company model.
Note
This is only useful if you work in a multi-company environment.
Custom Sorting
Selecting Custom Sorting adds to the List view a drag handle icon to manually reorder records.
Example
Chatter
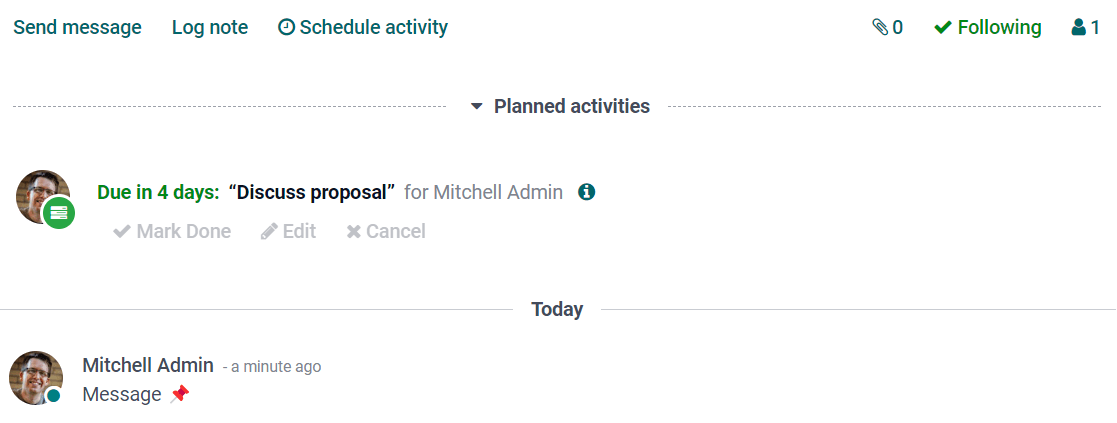
Selecting Chatter adds to the Form view Chatter functionalities (sending messages, logging notes, and scheduling activities).
Note
The Chatter feature can be added at a later stage.
Example
Archiving
Selecting Archiving adds to the Form and List views the Archive action and hides archived records from searches and views by default.
Export and import customizations
When you do any customization with Studio, a new module named studio_customization is
added to your database. You can export this module as a ZIP file using the Studio Export
function. The module can then be imported into another Odoo database. This may be useful, for
example, when setting up a new module or for training purposes.
Note
Exporting and importing customizations in this way, rather than using the standard Odoo export and import functions, means data is imported in a logical way. For example, if the module contains customers and sales orders, the customers are created first, since these are required for the sales orders to be created.
Export customizations
To export customizations, click the (Toggle Studio) button on the main Odoo dashboard, then Export, then either:
download all Studio customizations by clicking the Export button; or
choose what data to export by clicking Configure data and demo data to export.
Configure data to export
To select specific models to export, click New on the Studio Export screen, then start typing the name of the relevant model or select it from the list.
Tip
Click Preset to see a list of all models in your database with records that have been modified using Studio and all custom models created using Studio. To configure one of these models for export, click on the model to open it and make the required changes.
Tick the following options as relevant:
Demo: if the exported records should be considered as demo data when imported.
Attachments: if attachments related to exported records should be included in the export.
Updatable: if the exported records should be able to be updated during a module update.
If necessary, edit the Domain to determine which of the model’s records should be exported. To do so, click the Edit Domain button or (Modify filter) then Edit Domain, as appropriate. Proceed to make any required changes.
After configuring a model for export, click Studio Export to return to the main screen. To download a ZIP file with the customizations for all the listed models, click Export.
Note
It is not necessary to select one or more models as all listed models will be included in the export. To remove a model from the export, select it and click the Actions button then Delete.
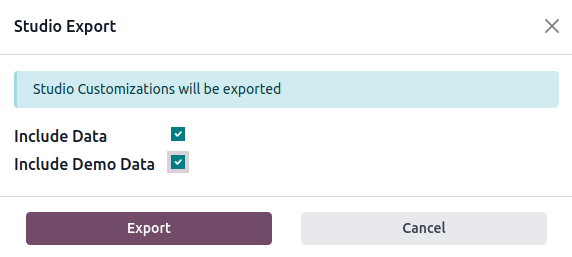
In the Studio Export window:
leave the checkboxes unticked to export only the customizations done with Studio.
tick Include Data to include data from the selected models in the export.
tick Include Demo Data to include data from the selected models that is flagged as demo data. Ticking this option also ticks Include Data.
Click the Export button to download the ZIP file.
Import customizations
Warning
Before importing, make sure the destination database is on the same Odoo version and contains the same apps and modules as the source database. Studio does not add the underlying modules as dependencies of the exported module.
To import and install Studio customizations in another Odoo database:
Connect to the destination database.
Click the (Toggle Studio) button on the main Odoo dashboard, then Import.
Upload the exported ZIP file. If demo data should be imported, tick Load demo data.
Click Install.